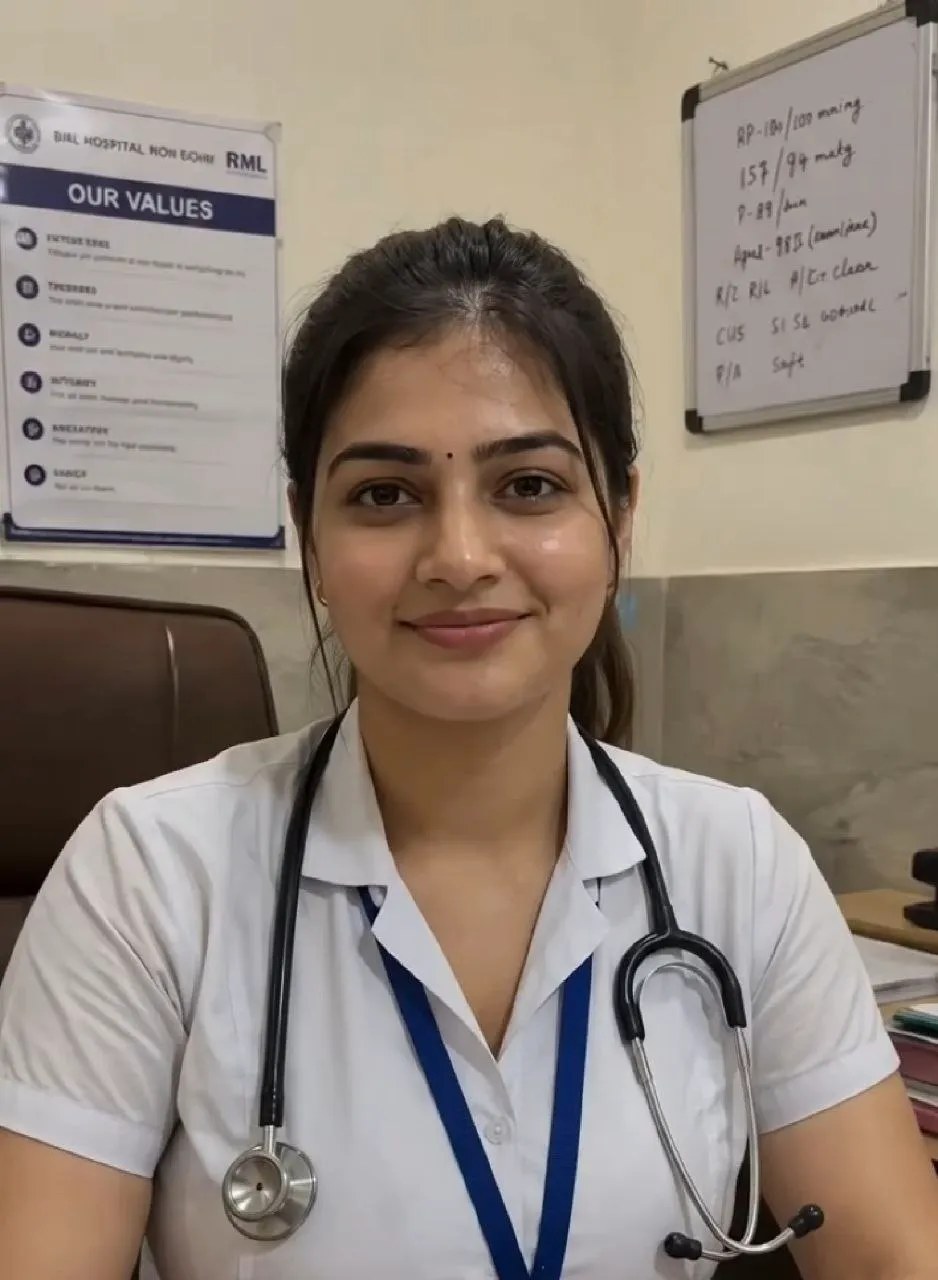


The day my medical admission letter landed in my inbox, I remember reading it three times just to be sure it was real. After months of entrance exams, counselling rounds, and waiting, I had finally secured a seat in a medical program abroad. But the celebration lasted barely a day before a new kind of stress set in: the student visa process.
Nobody really tells you that getting admission is only half the battle. The other half is proving to an embassy, a visa officer, and a stack of paperwork that you deserve to actually go and study. I spent close to six weeks preparing my visa application, and in that time I made mistakes, learned a lot, and picked up habits that made the whole process far less stressful than it could have been.
This is not a generic checklist copied from a government website. It is what actually happened when I prepared my student visa after my medical admission, what documents mattered most, and what I wish someone had told me before I started.
Understanding the Visa Requirements First
Before touching a single document, I spent an entire weekend just reading. Every country has its own student visa category for medical students, and the rules are rarely identical to those for undergraduate or arts programs. Medical courses often run longer, involve clinical placements, and sometimes require additional background checks, so the visa category tied to a medical seat can carry extra conditions.
I started by visiting the official embassy or consulate website for the country I was headed to, not random forums or old blog posts. Visa rules change often, and what worked for someone two years ago may no longer apply. I also reached out to my university’s international student office, who gave me a country-specific checklist and a rough timeline for processing.
The biggest lesson from this stage was simple: read the official guidelines twice before assuming you understand them. A missed clause about police clearance certificates or a specific photo format can delay an application by weeks.
The Document Checklist That Saved Me
Once I understood the requirements, I built a physical folder and a digital one that mirrored each other exactly. This single habit saved me from the panic of searching for a missing paper the night before my appointment. Here is what ended up mattering most for my medical admission visa:
- Valid passport with at least six months of validity beyond my intended stay
- Original and photocopies of my medical college admission or offer letter
- Academic transcripts and mark sheets from the last three years, attested where required
- Entrance exam scorecard, since many medical programs ask for proof of the qualifying test
- Passport-sized photographs in the exact specifications listed by the embassy
- Visa application form, filled online and printed where needed
- Proof of accommodation, whether a hostel confirmation or a rental agreement
- Medical fitness certificate and vaccination records, which medical programs almost always require
- Police clearance certificate for background verification
- Health insurance covering the full duration of the course
I learned to keep at least two photocopies of every document and to scan everything into clearly labelled folders by category, not by date. When an embassy official asked for a specific paper, I could hand it over in seconds instead of flipping through a messy stack.
Sorting Out the Financial Proof
This part gave me the most anxiety. Medical programs are expensive, and most embassies want solid proof that tuition and living costs are covered for at least the first year, sometimes the entire course. My family and I pulled together bank statements for the last six months, a loan sanction letter from our bank, and an affidavit of financial support since my father was sponsoring my education.
I also kept a cover letter explaining the source of funds in plain language, because a sudden large deposit without explanation can raise questions during visa screening. If you are applying with an education loan, make sure the sanction letter clearly states the amount, purpose, and repayment terms. If a relative is sponsoring you, their income proof and a notarized sponsorship letter go a long way in avoiding follow-up queries.
Getting Ready for the Visa Interview
Not every country requires an in-person interview, but mine did, and I treated it like an extension of my medical entrance preparation. I practiced answering why I chose this particular university, why I wanted to study medicine abroad instead of staying home, and how I planned to fund my education.
I avoided memorized, robotic answers and instead focused on being honest and specific. When asked about my future plans after graduation, I spoke about my genuine interest in clinical practice rather than giving a vague or rehearsed response. I also made sure to dress neatly, arrive early, and carry an extra set of every document in a separate folder in case the officer wanted to cross-check something on the spot.
Biometrics, if required, were quick, but I made sure I knew the exact appointment slot and location in advance, since last-minute confusion over venues is more common than people expect.
Mistakes and Last-Minute Hiccups
I would be lying if I said everything went smoothly. My first attempt at filling the online visa form had a mismatch between my passport name and my admission letter, something as small as a missing middle name. That single error delayed my submission by almost ten days while I got a name correction affidavit notarized.
I also underestimated how long bank processes take. My loan sanction letter took longer than expected because the branch needed extra verification documents I had not anticipated. Looking back, I should have started the financial paperwork the same week I accepted my admission offer, not weeks later.
Another hiccup was booking my visa appointment slot too close to my course start date. Slots fill up quickly during peak admission seasons, and I ended up paying for an expedited service I could have avoided entirely with earlier planning.
What I Learned Along the Way
Looking back, a few lessons stand out clearly. Start early, ideally the moment your admission is confirmed, because document collection and bank processes always take longer than they appear on paper. Keep a master checklist and tick things off as you go rather than relying on memory.
Double-check every name, date, and number across all your documents for consistency, since even tiny mismatches can cause real delays. Talk to seniors or students who have already gone through the same visa process for the same country, since their practical tips are often more useful than official guides alone. And finally, stay calm during the interview or verification stage. Visa officers deal with hundreds of applications, and clear, honest, well-organized answers stand out far more than a perfectly rehearsed script.
Final Thoughts
Preparing a student visa after a medical admission is not just paperwork, it is the final stretch between where you are and where you are about to begin a demanding, rewarding career. It tested my patience more than my entrance exams did, but it also taught me how to stay organized under pressure, a skill I suspect will matter again during medical school itself.
If you are standing where I once stood, admission letter in hand and a visa checklist ahead of you, my advice is simple: start today, stay organized, and do not assume any step is too small to double-check. The process is manageable, one document at a time.